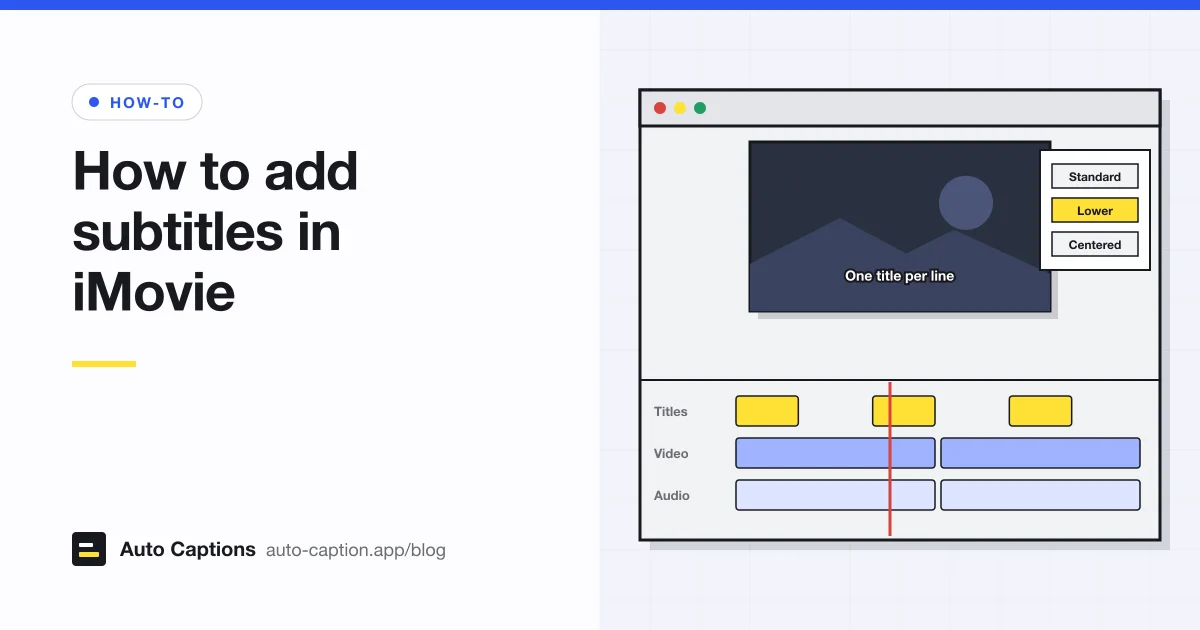
iMovie is a good free editor with one real gap: it has no idea what a caption is. There is no captions track, no speech transcription, and no way to import a subtitle file. What it does have is titles, and a title is just text on the picture. Put enough of them in a row, each timed to a line of speech, and you have subtitles. Below: how to do that on each device, why it gets slow, and what we'd do instead for longer videos.
What iMovie captions really are
Apple's help pages for iMovie on Mac and iPhone only describe titles. Two things follow from that:
- The subtitles are open captions. They're drawn into the video when you export, so viewers can't switch them off or resize them, and platforms like YouTube can't read them as text.
- There's no file behind them. You can't export an SRT from iMovie, and you can't bring one in. If you already have a subtitle file, iMovie can't use it.
If you need a real caption track inside an Apple editor, that's Final Cut Pro, which can import SRT, iTT and CEA-608 files. Our guide to captions in Final Cut Pro covers it. The rest of this post is about getting subtitles into an iMovie project anyway.
Add subtitles in iMovie on a Mac
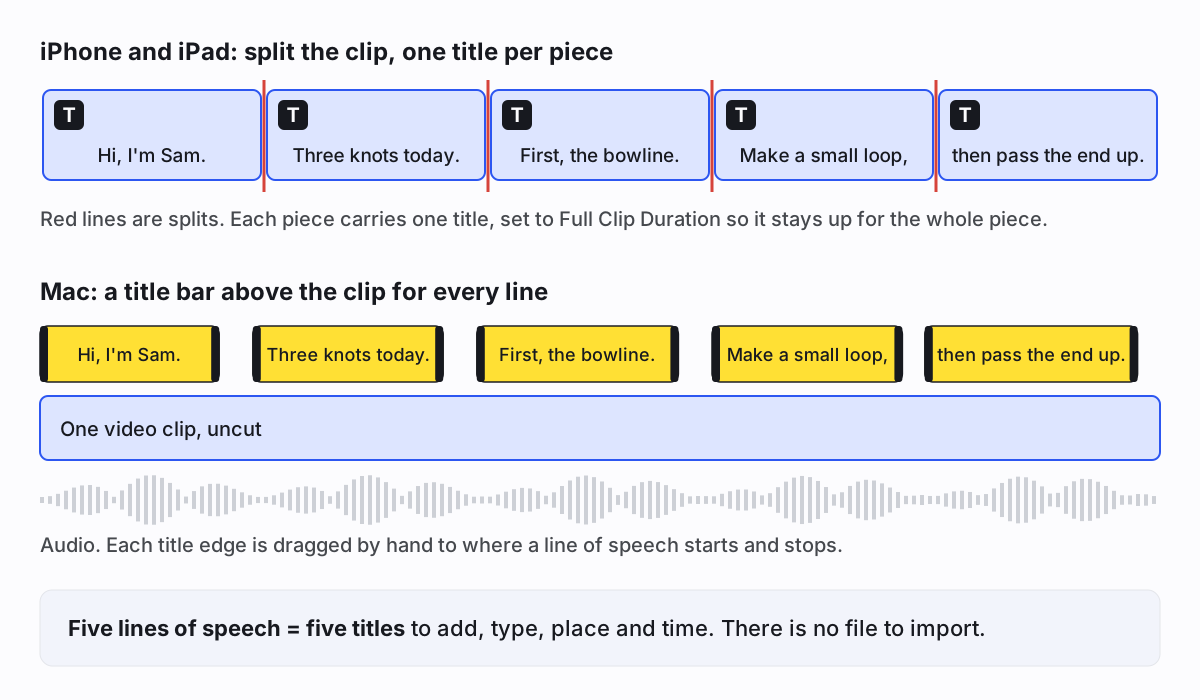
The Mac version is the more workable of the two, because a title is a separate bar in the timeline that you can move and stretch.
- Move the playhead to where the first line of speech starts.
- Click Titles above the browser. Drag a title style onto the timeline, above the clip, or double-click it to add it at the playhead. Pick a style that sits low in the frame; a big centered title reads like a heading, not a subtitle.
- Double-click the placeholder text in the viewer and type the line. Change the font and size with the controls above the viewer, then click Apply.
- Drag the title's left and right edges in the timeline so it starts when the words start and ends when they stop. Apple notes that a title dropped over the first or last third of a clip snaps to that third, so check the length after you place it.
- Play it back, then repeat for the next line.
Keep each title to one short line or two. A subtitle viewers can't finish reading before it disappears is worse than none.
Add iMovie subtitles on iPhone and iPad
On iPhone and iPad a title belongs to a clip, not to a moment in time. So to change the caption every few seconds, you cut the clip into pieces first. Apple's own page on splitting clips gives adding different titles to each section as a reason to split. The steps at the time of writing (October 2026):
- Scroll the timeline so the playhead sits where a new line of speech starts.
- Tap the clip, tap the actions button, then tap Split. (You can also swipe down over the playhead on the clip.)
- Repeat at every line change until each piece holds one line of speech.
- Tap the first piece, tap the Titles button, and choose a style.
- Tap the sample title in the viewer, tap Edit, type the line, and tap Done.
- Tap More and turn on Full Clip Duration, so the title stays up for the whole piece.
- Repeat for every piece.
Splitting works, but it chops your edit into dozens of small clips, which makes later changes awkward: move a cut and the titles around it need redoing. If you're captioning on a phone anyway, our post on captions on iPhone compares iMovie with the other free options.
Why iMovie subtitles get slow
The problem is multiplication. Every line needs its own title, and every title needs four jobs: find the start, add the title (or split), type the words, and match the length. A readable subtitle stays up for a few seconds at most. Our own tool caps a line at about 5 seconds, so a 10-minute talk needs at least 120 lines, and usually more, since people rarely talk in neat five-second chunks.
That's fine for a one-minute clip with a dozen lines. For a lecture, an interview or a vlog, it's hours of work. And you still haven't checked the text for typos, because you typed all of it.
The faster route: export, then burn in timed captions
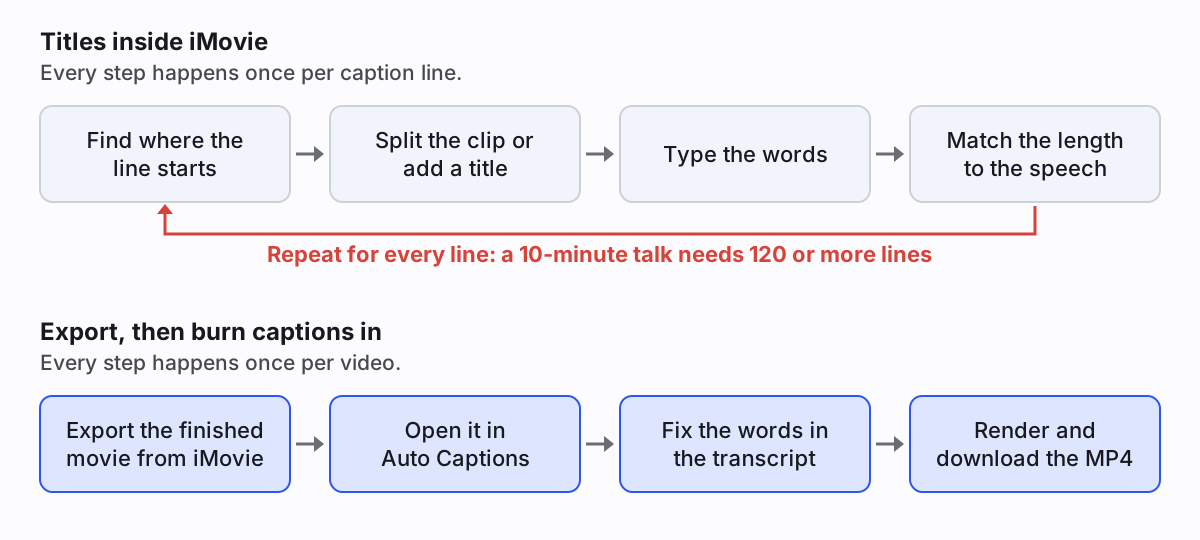
Finish the edit in iMovie first, without subtitles. Then let a tool write and time the captions from the audio and draw them into the video. That's what our burn-in subtitle tool does:
- Export from iMovie. On a Mac, click the Share button and choose Export File. On iPhone or iPad, tap the Share button and choose Save Video. Apple's page on sharing and exporting iMovie projects has the details.
- Open the file in the tool. MP4 and MOV both work, up to 30 minutes. Only a small audio track is sent off for transcription; the video stays in your browser.
- Read the transcript and fix what's wrong. Names, product terms and mumbled words are the usual suspects. Click a line to edit it, nudge its start or end, split or merge.
- Pick a style (font, size, color and position are adjustable) and export the MP4.
The difference is where your time goes. Instead of typing and timing 120 titles, you proofread 120 lines that are already typed and timed. That's a much shorter job.
There are limits. Each visitor can transcribe 20 minutes of video a day. Safari, on a Mac or iPhone, renders up to 10 minutes; Chrome or Edge on a computer can go to the full 30 by saving the file straight to disk. And if you already have an SRT from somewhere else, drop it in with the video: no transcription needed, and it doesn't count against the daily allowance.
One more option. The same transcript can be downloaded as an SRT or VTT file, so you can upload closed captions to YouTube with a clean copy of the video too. If those formats are new to you, our overview of subtitle file formats explains which platforms take which. Or start from the main auto captions page if you want to style captions word by word for social media.
When iMovie titles are still the right tool
Short clips with a few lines of speech. A name and a place under an interviewee. A translated line or two in a travel video. For those, iMovie titles are quick, they match the rest of your project's look, and you don't need another tool. Once you're past a couple of dozen lines, export and burn in.